Quick start guide to install and use Xylo
We are excited to have you here with us
How to install for free
or follow the 3 steps install

Step 1
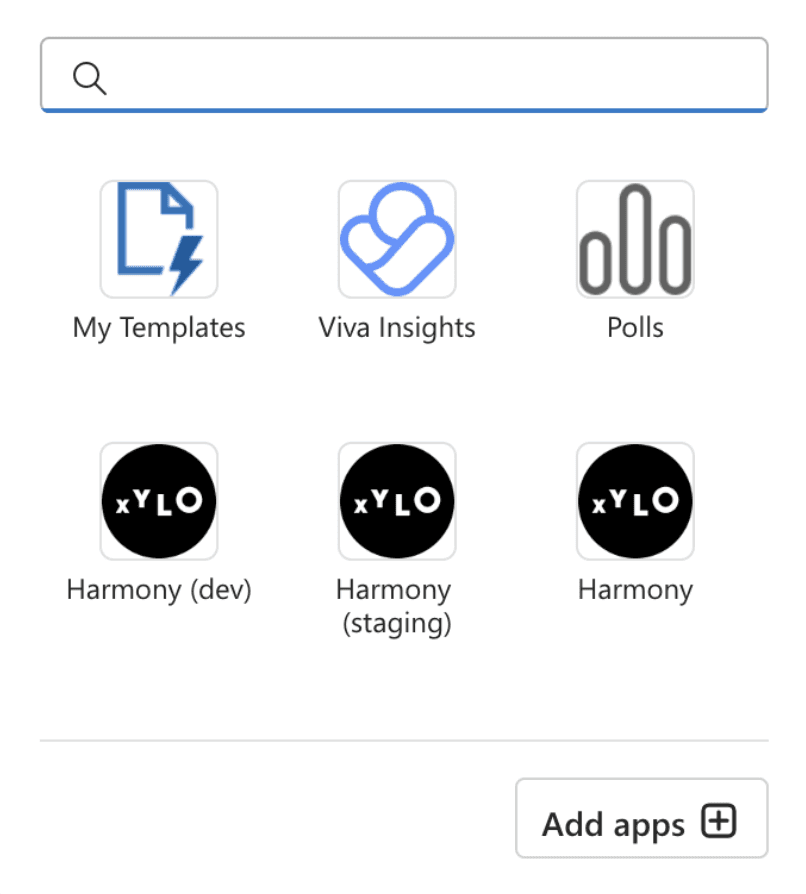
Find Microsoft store inside your Outlook
Find us on Microsoft Store by clicking on the Apps Icon on the left side panel > click on Add apps - to open Microsoft Store
Step 2
Find Xylo on Microsoft Store
Search for “Xylo” on microsoft store

Step 3
Click the "Add" button to install Xylo in you Add-ins

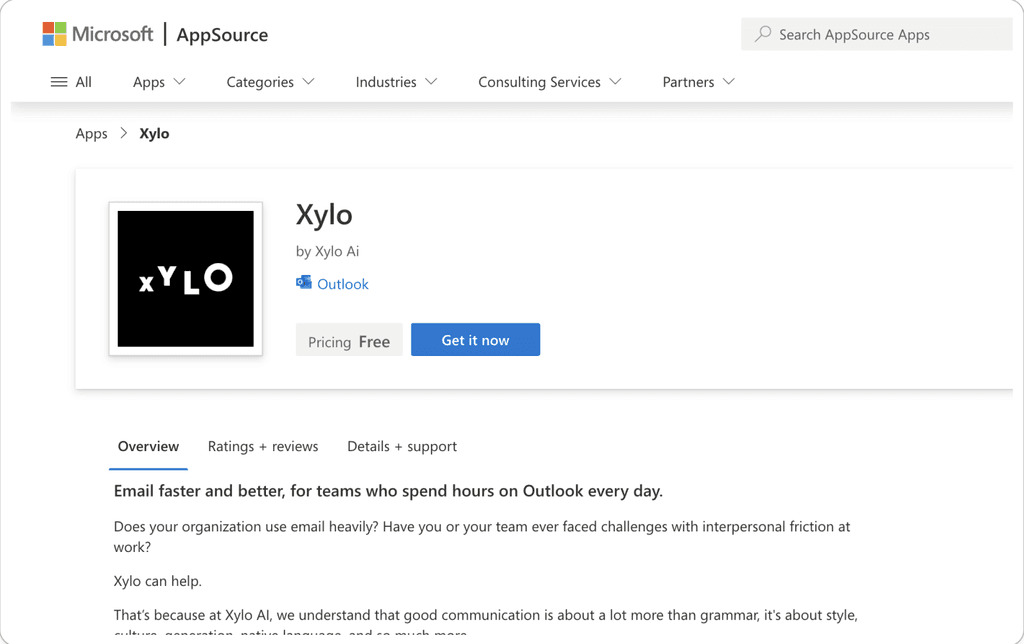
You can also install directly from our Microsoft Store Page
Click “Get it Now”
How to use Xylo
Xylo has 2 panels that you can use when Reading and Writing
Using the Reading panel
Opening Xylo for the first time on the reading panel
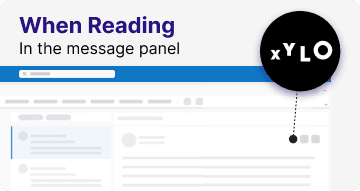
A) Click on any message to read it.
B) Click on the Xylo button to open the Xylo Read Panel.
C) Click on the pin in the upper right hand corner of the Write Panel to keep it open all day.
Using the Writing panel
Opening Xylo for the first time on the writing panel
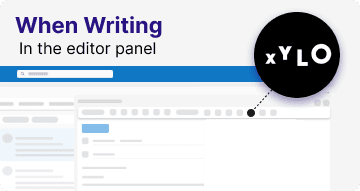
A) Click on New Email or Reply to open a compose window.
B) Click on the Xylo button to open the Xylo Write Panel.
C) Click on the pin in the upper right hand corner of the Write Panel to keep it open all day.
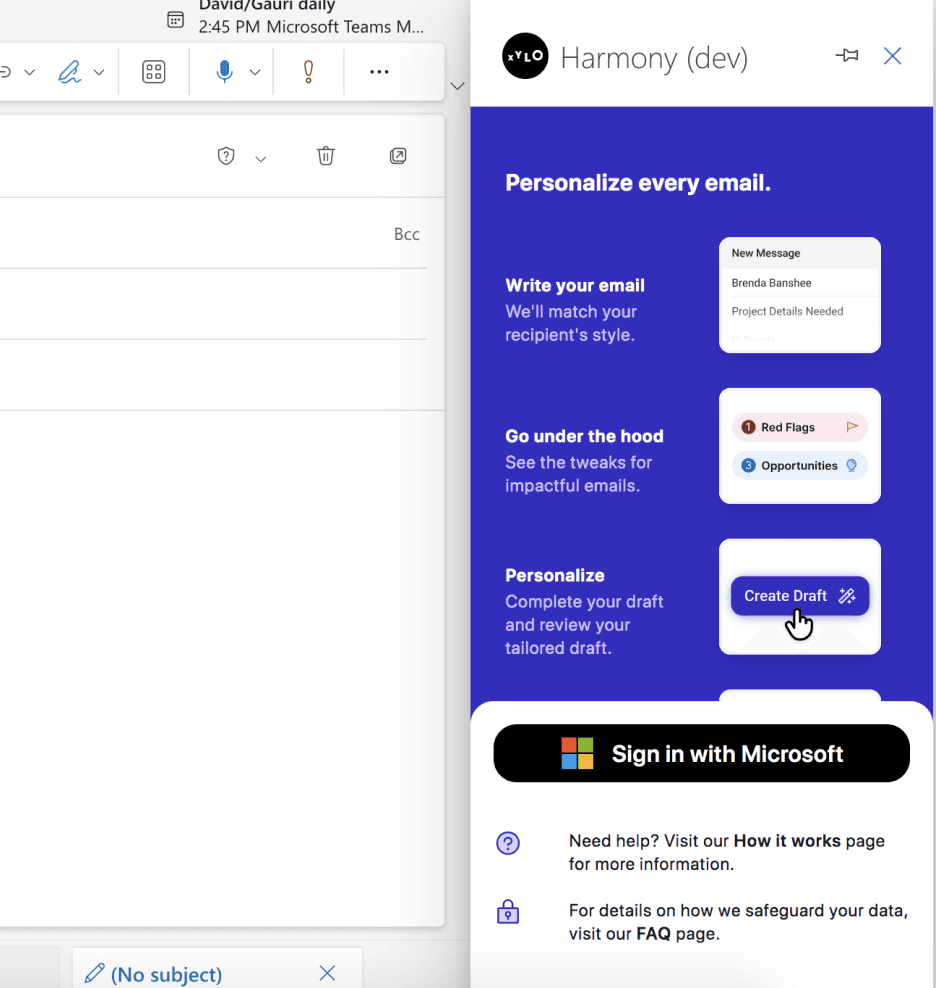
Sign in
Sign in with Microsoft and give permissions
give Xylo permission to display a new window and finish the Microsoft sign in process
If you don't see the Xylo Icon on reading or writing panel, Click on the “Apps” icon, and click on Xylo to open our panel

Xylo
Pinning Xylo

Workflow tips
Feel free to pin whichever panel you like the most
if you use both reading and writing panel, pin both!
After pinning: Xylo stays open the whole day.
Congratulations!
Xylo will now improve your email experience.
If you need help contact us.